Create CSR
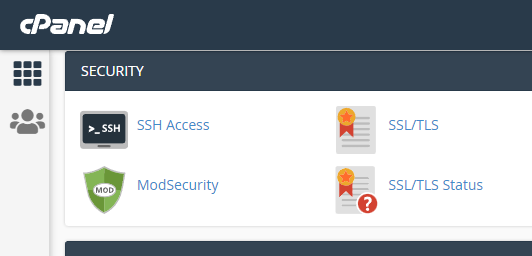
Login to your website control panel. Here I’m Using cPanel to manage my website. Click on SSL/TLS.
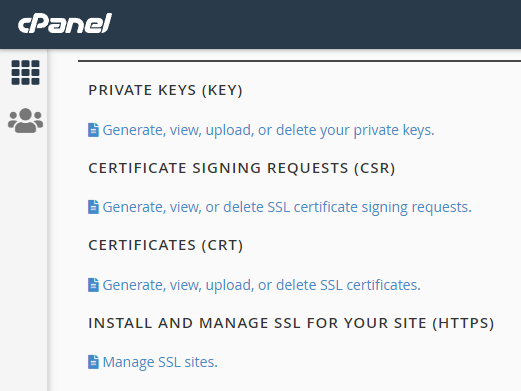
Generate a new CSR.
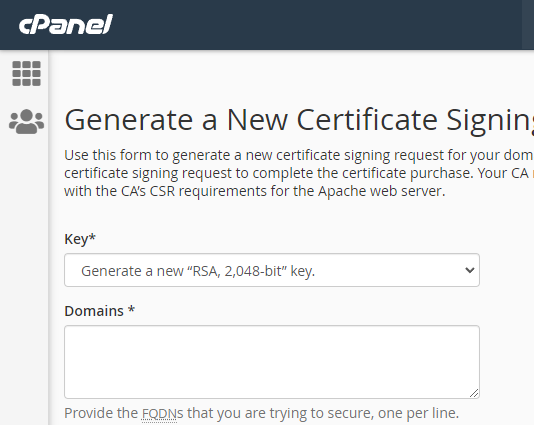
Keep all the defaults. Type in the domains/subdomain covered by your SSL certificate. For me, it’s a simple cheap cert that included www.example.com and example.com. This part is just creating all the information needed for the CA. I just put N/A for City, State, and Company since it requires it. Depending on the type of certificate your purchased. This info must match the cert you purchased. I left everything else blank.
After you click generate, it will save the CSR and give you a base64 encoded version of it. It’s just an easy way to represent the file as text. Pretty neat! Copy this text into notepad.
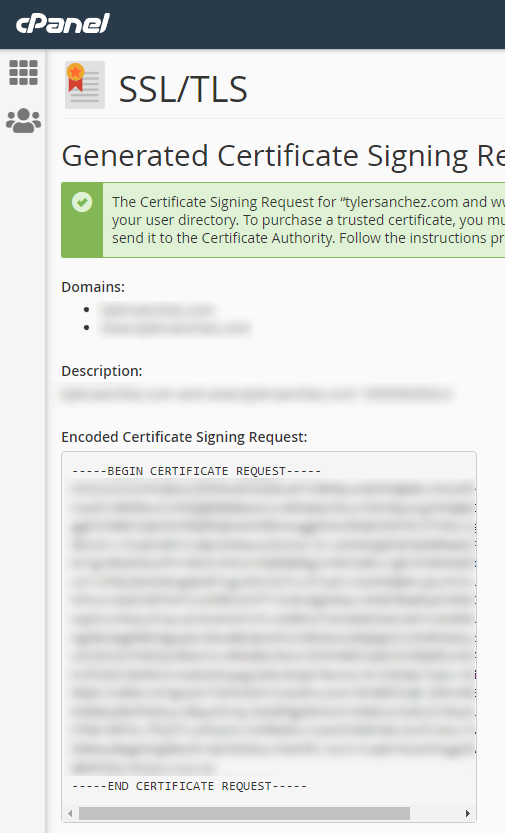
Generate public certificate using CSR
Now head off to your domain registrar. Here I’m using Namecheap. Domain list > Select domain > Products > SSL > Manage. Reissue your certificate.

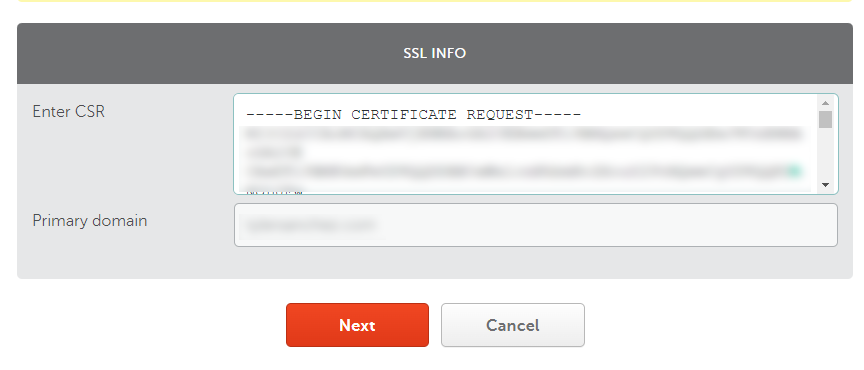
Paste the CSR into the SSL info.
Prove Domain Ownership
There are three different methods to prove you own the domain. The easiest is to upload a validation file.
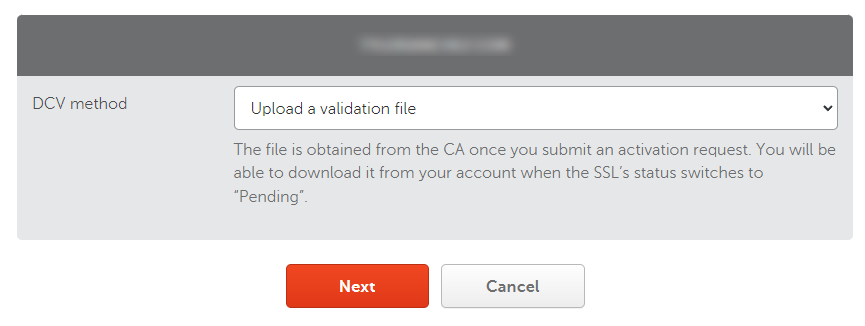
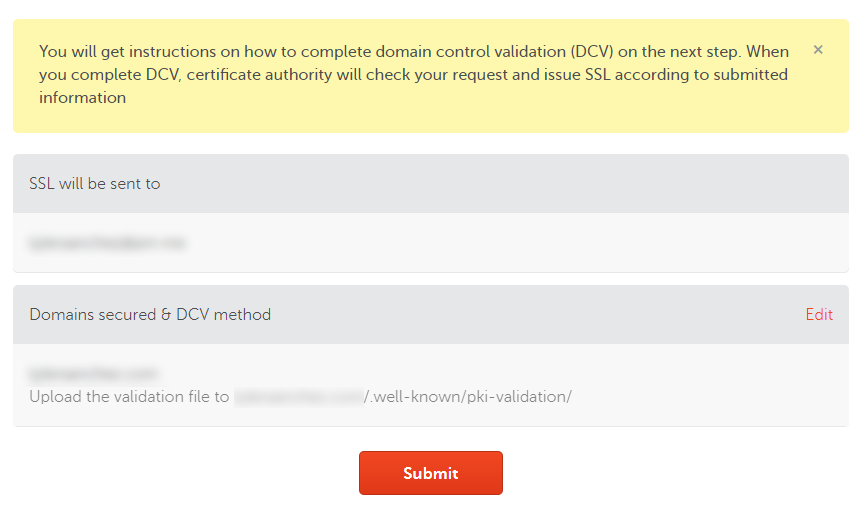
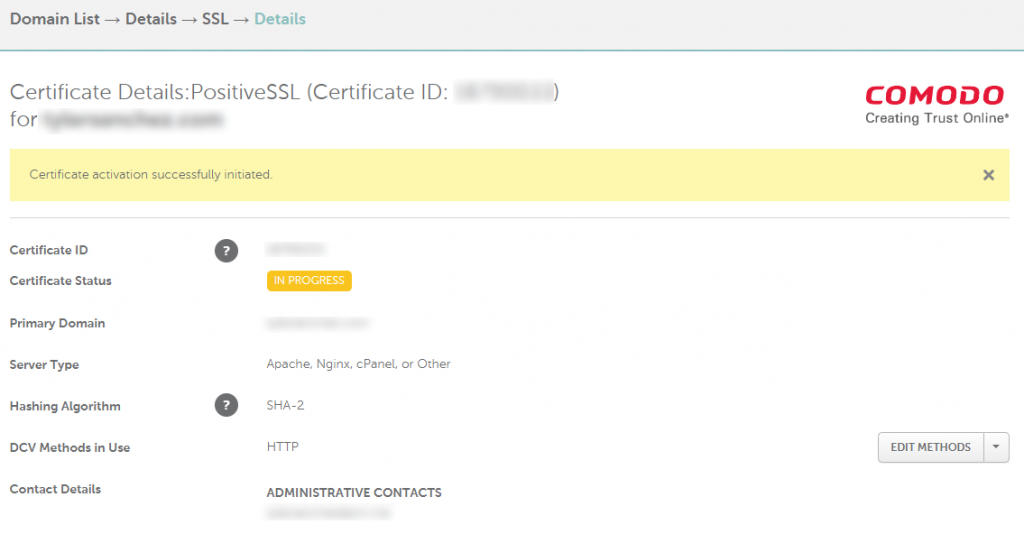
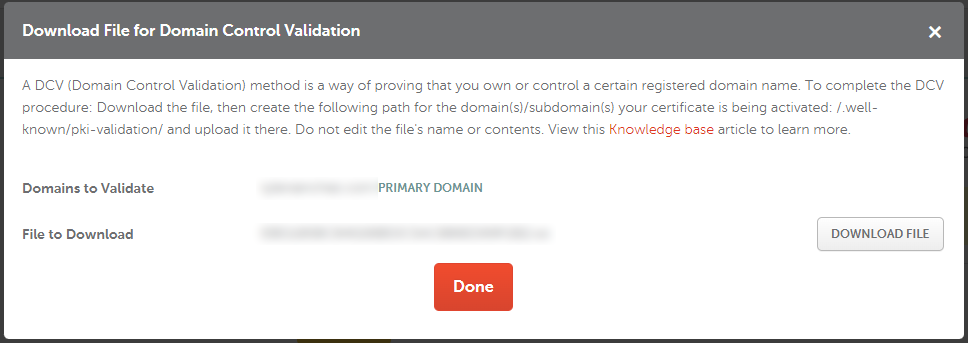
Once you submitted the DCV method, go download the text file. Hit the dropdown under edit methods and click Download file.
Download the text file.
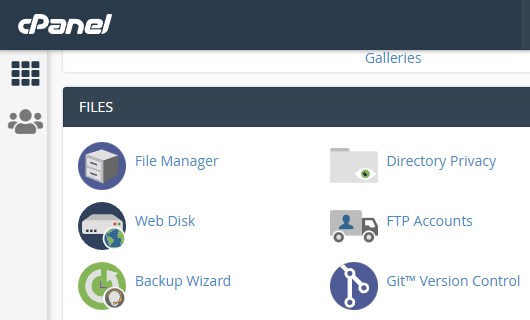
Let’s head back to your cPanel main page and use the file manager.
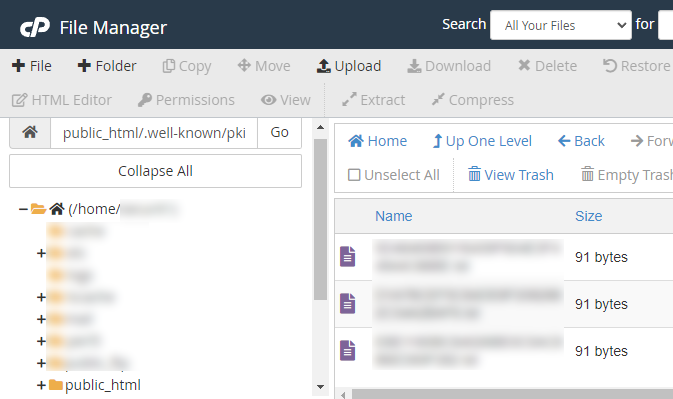
You’ll need to navigate to the /.well-known/pki-validation/ folder. It’s hidden so you’ll need to manually navigate to the folder. If it’s not there, create it. If you have one website, create it under the public_html folder. If you have multiple websites, find the main directory for that specific domain and create that special folder there. Upload the file here.
Go back to your domain registrar and edit the DCV method.
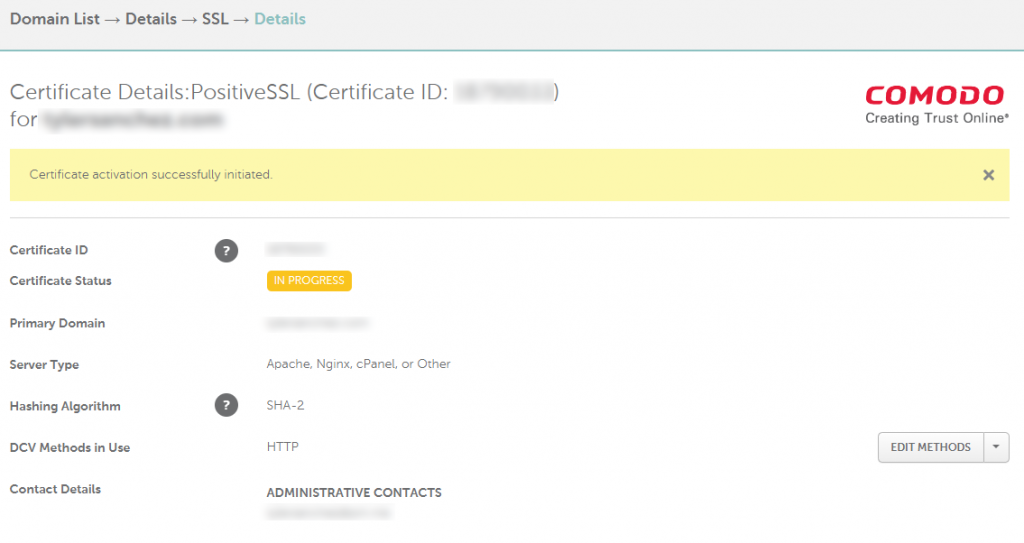
Recheck the file.

Download Public Certificate
It should pass the validation and allow you to download the certificate. Download it. It should contain 3 files. Unzip the folder
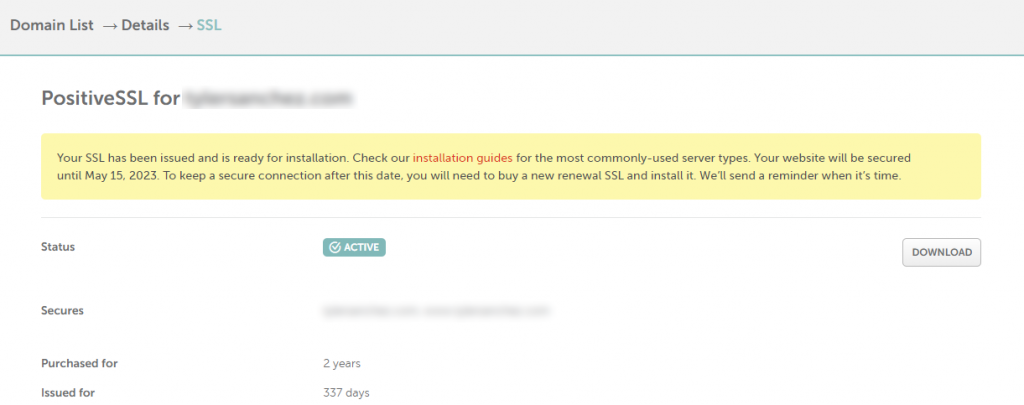
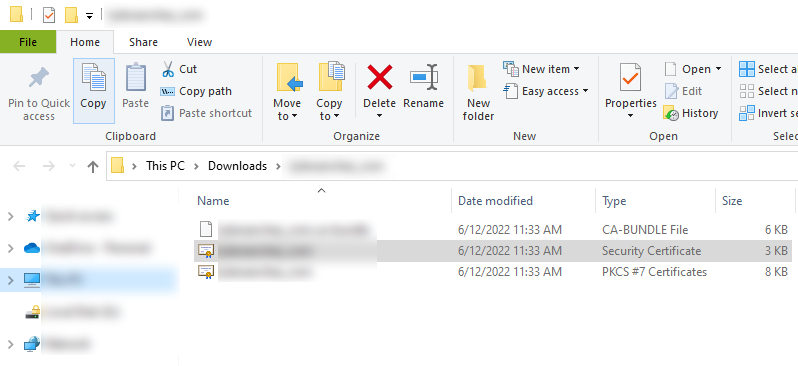
Install Public Certificate on Website
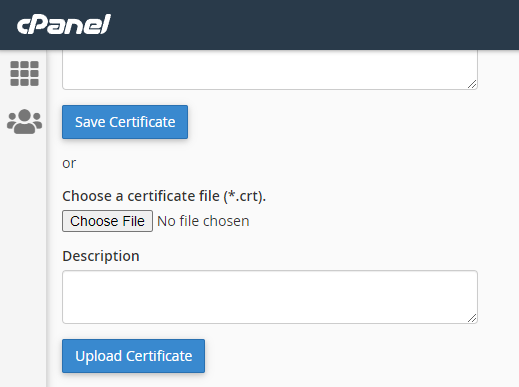
Head back to cPanel to upload the new public certificate you downloaded from Namecheap. Click on Generate, view, upload, or delete SSL certificates.
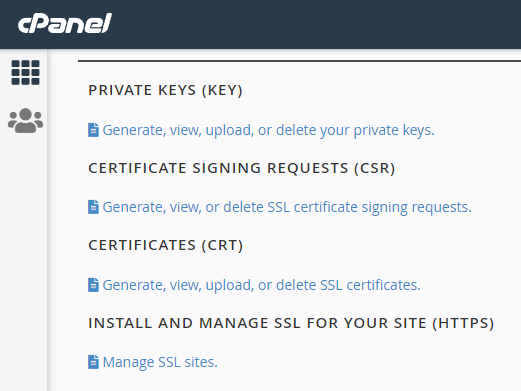
Under “Upload a new certificate”, browse for the certificate and upload.
Go back to Manage SSL sites
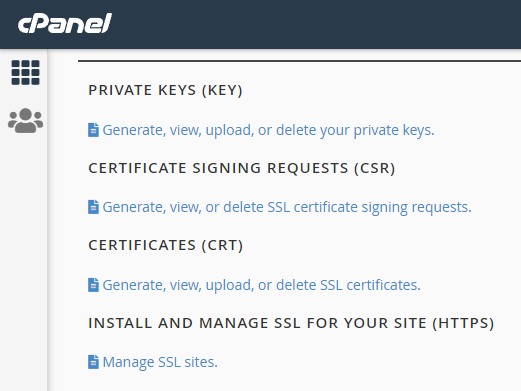
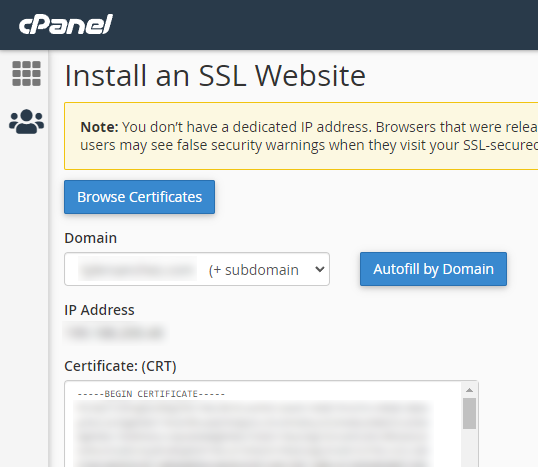
Under Install an SSL Website, browse certificates. Select the public certificate you just uploaded. Also, select the domain it applies to in the drop-down. Hit Install Certificate. Your website is now updated.
